Dry without a dryer
How to Make Air-Dried Clothes Dry Faster Indoors
Reduce drying time with better water extraction, smaller loads, garment spacing, airflow, humidity control, and timed mid-load checks.
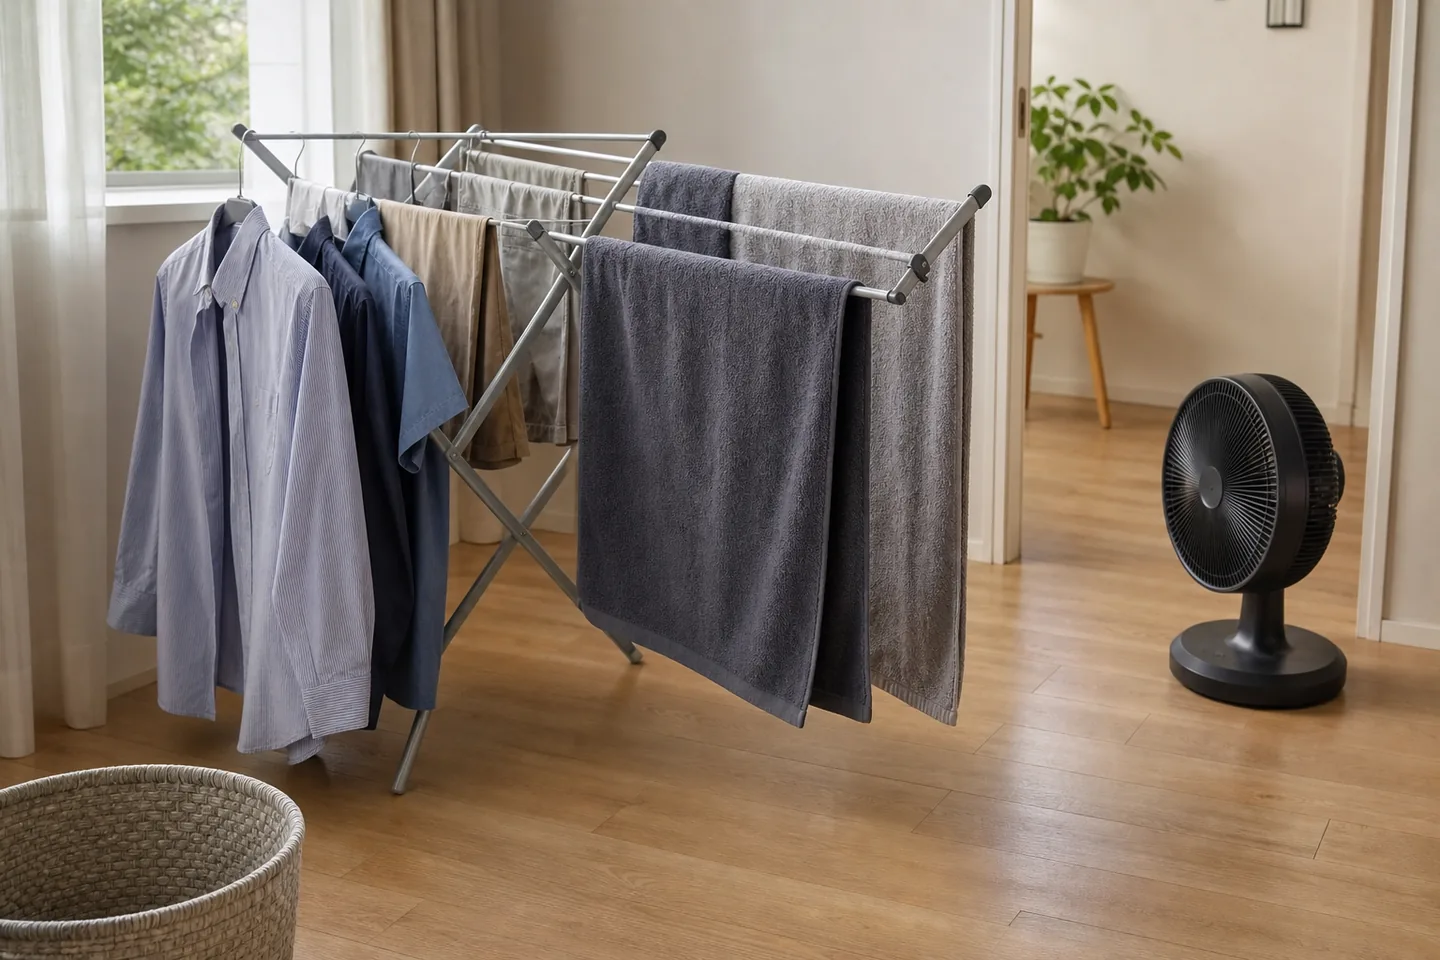
The short answer
- The fastest low-risk improvements are less water entering the rack, more exposed fabric surface, and moving drier air across it.
- Smaller loads often finish sooner than crowded large loads even when they require more wash cycles.
- A mid-load check should open pockets, rotate thick areas, and remove finished items.
If the T-shirts are dry but every waistband and towel corner is still cold and damp, the rack isn’t failing evenly. Thick areas are holding more water, and crowded fabric is sitting inside its own pocket of humid air.
Faster indoor drying usually comes from four ordinary changes: send less water to the rack, hang a smaller load, expose more fabric, and move drier room air around it. Keep the garment label and equipment instructions as the limits. For the full start-to-finish system, use the apartment no-dryer guide; if windows begin to fog, switch to the humidity and condensation guide.
Send less water to the rack
Choose the strongest washer spin that is appropriate for the fabric. ENERGY STAR recommends a high or extended spin when appropriate because it reduces remaining moisture and drying time.
For hand-washed items, press rather than twist unless the care label allows wringing. Rolling an item in a clean dry towel can transfer water without stretching it. Reshape items that must dry flat.
If a normal load leaves clothing unusually wet, check the washer’s balance, load distribution, drain, and cycle instructions before assuming the room is the only problem.
Reduce load density
Crowding saves rail length but slows evaporation. Wet surfaces touching each other share a humid pocket and receive little moving air.
Try one load at roughly three-quarters of the rack’s usual density. Leave visible gaps, use alternate rails for thick items, and keep towels spread rather than folded over a single bar. Record the finish time. If it improves sharply, drying capacity—not washer capacity—is the bottleneck.
Run smaller wash loads until the rack can accept everything without overlap. This also makes the loaded rack lighter and easier to balance.
Expose the slow parts
Turn hidden moisture into exposed surface:
- unzip jackets and open buttons;
- pull pockets outward when the garment permits;
- uncuff sleeves and pant legs;
- separate waistbands from adjacent fabric;
- hang hoodies so the hood does not lie against the back;
- give seams and layered hems direct airflow.
Use hangers only where the rack, hanger, and garment care allow them. Leave space between hanger shoulders.
Move air across, then away
A fan can break up the humid boundary around fabric. Place it on a dry, stable surface and follow its clearance and electrical instructions. Aim across the load so multiple garments receive airflow; the closest garment should not block everything behind it.
Room ventilation must also move moisture away. When outdoor weather and air quality are suitable, a window can help. An exhaust fan that vents outside, air conditioning, or a maintained dehumidifier may be more effective when outdoor air is humid. The EPA recommends ventilation or dehumidification as needed to keep indoor moisture controlled.
Do not point a portable heater at the rack or enclose clothing around a heat source. Heat without moisture removal can raise room humidity, and improvised clearances add fire risk.
Schedule one active check
Set a check around the middle of the expected drying period. At that point:
- Remove fully dry lightweight items.
- Rotate towels and jeans so the sheltered surface faces airflow.
- Reopen pockets and separate anything that shifted together.
- Feel seams, waistbands, cuffs, and hoods rather than judging the broad panel.
- Note room humidity and visible condensation.
Removing finished items gives the slow pieces more air and prevents the whole rack from being treated as one unit.
Compare routines with a simple log
For three loads, record start time, room humidity, load type, rack density, fan or ventilation setup, mid-load changes, and finish time. Change one major variable per test.
This reveals whether the winning move is higher spin, smaller loads, better spacing, or stronger moisture removal. A repeatable two-hour improvement is more useful than a collection of drying gadgets with no measured effect.
If garments remain damp for unusually long periods, the room develops persistent condensation, or musty odors appear, stop increasing airflow gadgets and address the moisture condition itself.
Sources and verification
We use primary sources where safety, labeling, energy, or moisture guidance is involved. Product-specific instructions always defer to the current manual.
- ENERGY STAR — Clothes Washers Savings Tips
- U.S. EPA — Improving Your Indoor Environment
- U.S. FTC — Clothes Captioning: Care Labeling Rule
See something that needs an update? Read our corrections process.