Dry without a dryer
How to Dry Clothes in an Apartment Without a Dryer
Build an indoor drying routine around care labels, washer spin, rail length, garment spacing, airflow, humidity, and a clear reset time.
The short answer
- Size wash loads to the usable drying space so garments can hang without overlapping.
- Use care labels to choose hanging, flat drying, heat, and spin decisions for each garment.
- Track room humidity and drying progress; persistent dampness or condensation means the routine needs more airflow, dehumidification, or a smaller load.
When clean laundry starts colonizing chair backs, shower rods, and half the bed, the problem usually isn’t a lack of effort. The wash load is simply bigger than the apartment’s drying space.
You can dry clothes indoors without a dryer, but the routine needs to begin before you press Start: choose a load the rack can hold, follow the care labels, remove as much water as the fabric allows, and leave air around every item. If you’re still choosing equipment, start with the small-apartment drying rack guide. If the rack fits but everything takes too long, use the faster indoor drying checklist next.
Claim one drying zone
Choose a location with a stable floor, access to room airflow, and clearance from cooking splatter, open flames, heaters, and electrical hazards. Keep required exits, doors, and walking paths clear.
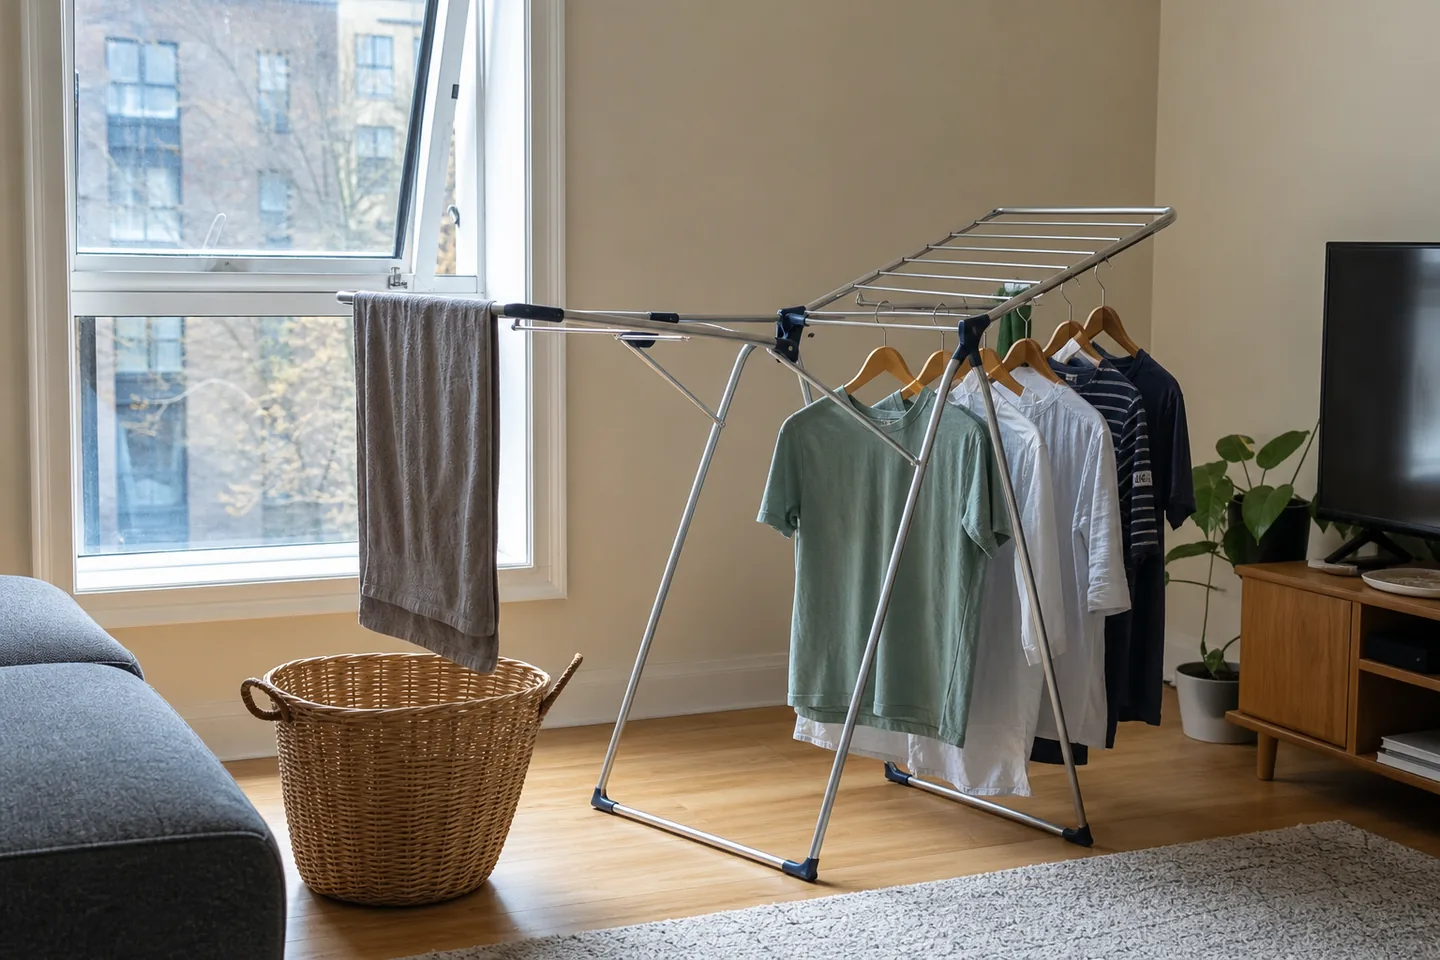
Measure the floor footprint and usable rail length. A tall tower rack uses less floor area but may be less convenient for long garments. A wing rack offers flexible height but spreads wider. A wall or over-door option saves floor space only if the surface, door, lease, and load rating support it.
Do not count shower rods, sprinkler pipes, radiators, or furniture edges unless they are designed and permitted to carry wet laundry.
Sort by drying behavior
Read the care label before choosing heat, spin, hanging, or flat drying. The FTC requires care instructions on covered garments because the correct procedure depends on the item.
Build three groups:
- Fast hanging: lightweight shirts, underwear, and thin synthetics that the label permits to hang.
- Slow hanging: jeans, hoodies, towels, waistbands, pockets, and layered seams.
- Flat or special care: knits or structured items whose labels call for flat drying or gentler handling.
This sort reveals the bottleneck. A rack can look half empty while two folded towels or a heavy waistband stay wet for hours.
Remove water before the rack
Use the highest spin setting appropriate for both the fabric and appliance instructions. ENERGY STAR notes that a higher or extended spin can reduce remaining moisture and drying time when appropriate.
For hand-washed or delicate items, avoid twisting unless the care instructions allow it. Press water out gently, or roll the item in a clean dry towel and press. Reshape flat-dry items before placing them on a breathable surface.
The objective is not maximum force. It is less free water without fabric damage.
Hang for air paths
Give each item its own contact with moving air.
- Leave gaps between garments instead of creating a fabric wall.
- Open zippers, pockets, cuffs, and waistbands.
- Spread towels across more than one rail when space allows.
- Hang shirts from structured points and keep doubled fabric to a minimum.
- Turn thick items partway through drying if one side remains sheltered.
Place a fan so it circulates room air across the load without creating a tip hazard or blowing the rack over. Keep electrical equipment in a dry, stable location and follow its instructions.
Watch the room, not only the clothes
Drying moves water from fabric into indoor air. The EPA recommends keeping indoor relative humidity below 60 percent and ideally between 30 and 50 percent when possible. A small hygrometer makes the routine observable.
If humidity climbs, windows collect condensation, or the room smells musty, reduce the load and improve moisture removal. Depending on outdoor conditions and the home, that may mean using an exhaust fan that vents outside, opening a window when weather and air quality permit, running air conditioning, or using a maintained dehumidifier.
Do not aim a heater directly at laundry or create an improvised heated enclosure.
Set a check time and a reset time
At the first check, separate any touching items, rotate slow-drying sections, and move finished pieces away so the remaining air path improves. Do not fold or store anything that still feels cool-damp at seams, pockets, or waistbands.
When the load is dry, fold it, wipe any collected water, let the rack dry, and return the zone to normal use. If one load routinely occupies the room into the next laundry day, the wash load is too large or the drying system needs more capacity.
Dryer-free laundry becomes easy when the finish condition is designed into the beginning.
Sources and verification
We use primary sources where safety, labeling, energy, or moisture guidance is involved. Product-specific instructions always defer to the current manual.
- U.S. FTC — Clothes Captioning: Care Labeling Rule
- ENERGY STAR — Clothes Washers Savings Tips
- U.S. EPA — A Brief Guide to Mold, Moisture and Your Home
See something that needs an update? Read our corrections process.