Dry without a dryer
How to Dry Clothes Faster in a Small Apartment
A renter-friendly way to dry clothes faster indoors by choosing a better rack position, spacing garments, moving air, and watching humidity.
The short answer
- The quickest low-risk change is usually a clear air path around a smaller, less crowded load.
- Measure the rack footprint and walking route before choosing a window, doorway, fan, or dehumidifier position.
- Use humidity and condensation as signals to remove moisture, not as reasons to keep adding heat.
The rack is full, the hallway is narrow, and the one towel that matters is still damp. In a small apartment, drying faster is less about turning the room into a sauna and more about giving wet fabric a clear path to release moisture.
The practical answer is to remove more water before hanging, reduce crowding, expose thick sections, and move reasonably dry air across the load and out of the room. Start with the room you have. A window, bathroom exhaust fan, air conditioner, or dehumidifier may help, but only when the weather, electrical setup, and appliance instructions make that choice sensible.
If you are deciding whether your current rack is simply too small, compare its usable rail length with the load in the small-space drying rack guide. For a complete no-dryer routine, use the apartment drying guide.
Start with the air path
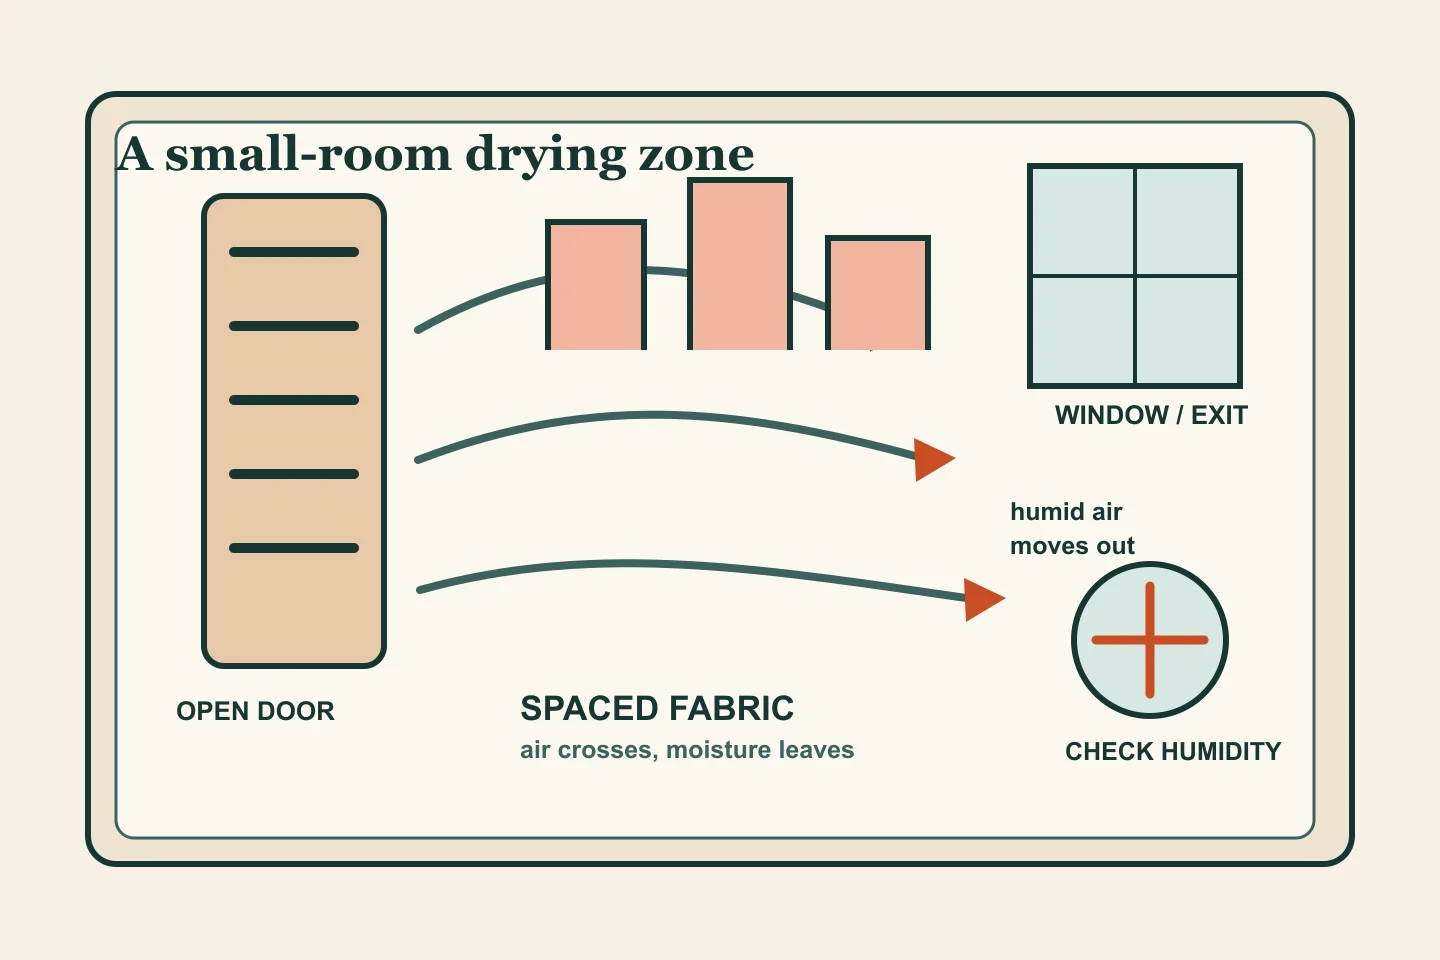
Walk around the room with the rack empty. You want to open the door, reach the window or exhaust route, and pass the rack without brushing wet clothes. Leave enough space behind the rack for air to move. The best location is often the one that keeps the load out of a dead corner while preserving a safe walking path.
Sketch the route as three points: where air enters, where it crosses the garments, and where moisture can leave. A fan aimed across the rack can help mix the humid air around the fabric. It does not need to blow straight into one shirt. A cross-room angle usually reaches more of the load.
Keep cords away from wet areas and use a dry, stable surface. A fan is an air-moving tool, not a substitute for ventilation. If the room becomes stuffy or the window starts collecting condensation, pause and address moisture removal. The EPA describes ventilation and dehumidification as ways to control indoor humidity and condensation.
Send less water to the rack
Use the strongest washer spin that is appropriate for the garment and the machine. ENERGY STAR notes that higher or extended spin options can remove more remaining moisture and shorten drying time when suitable for the fabric.
For hand-washed pieces, press water out gently or roll the item in a clean dry towel when the care label allows it. Avoid improvising with delicate knits or anything that says to dry flat. The care label is the boundary: the FTC’s care-label guidance distinguishes line dry, drip dry, dry flat, and heat instructions for a reason.
If a load suddenly arrives much wetter than usual, check balance, distribution, drain behavior, and the selected cycle before blaming the room. A drying-zone change cannot fix a washer problem.
Use less fabric in each air pocket
Crowding creates a humid pocket between touching surfaces. Start with a load that fills about three-quarters of the rack’s usual capacity. Leave visible gaps between shirts, spread towels over more than one bar when the rack allows it, and give jeans and hoodies room to open.
Open zippers and buttons, pull out pockets when appropriate, and separate cuffs from sleeves. Turn thick waistbands and seams toward the moving air. Remove lightweight items as soon as they are dry so they stop blocking the slow pieces behind them.
This is also a useful measurement. Count how many rails the load occupies, note the rack’s footprint, and record which item stayed damp longest. If one towel repeatedly controls the finish time, the bottleneck is exposed surface area, not necessarily the total amount of laundry.
Choose ventilation by weather, not habit
When outdoor air is cooler and drier than the room, a window or exhaust route may help. When it is warm and humid outside, opening a window can add moisture instead. Air conditioning or a maintained dehumidifier may be the better fit in that situation.
Keep indoor humidity below 60 percent when possible, with 30 to 50 percent as the EPA’s ideal range for many homes. A small humidity meter makes the decision less subjective. Condensation on a cold window, wall, or pipe is a prompt to reduce the moisture load and improve the air path, not a target condition for the room.
Avoid pointing a portable heater at a rack or enclosing fabric around a heat source. Extra heat without a way to remove the added water can leave the room damper and introduces clearance and fire concerns. If moisture problems persist, fix the room condition instead of adding more gadgets.
Run a three-load comparison
Use a short log for three similar loads. Record the start time, washer spin setting, rack position, number of rails used, room humidity, ventilation choice, and the time the thickest item becomes dry. Change one major variable per load.
The result should be a repeatable rule you can use on a busy weeknight: smaller load plus open spacing, rack near a reliable air path, and a mid-load check. If the room is still damp or the same items remain wet for an unusually long period, stop increasing airflow and investigate leaks, ventilation, or the appliance manual.
The goal is not to make every apartment dry like a laundry room. It is to make the next load predictable, accessible, and kind to the clothes you already own.
Sources and verification
We use primary sources where safety, labeling, energy, or moisture guidance is involved. Product-specific instructions always defer to the current manual.
- U.S. EPA - A Brief Guide to Mold, Moisture and Your Home
- U.S. EPA - How Much Ventilation Do I Need?
- ENERGY STAR - Clothes Washers
- Federal Trade Commission - Care Labeling Rule
See something that needs an update? Read our corrections process.