Small-space storage
A Small-Space Laundry Routine You Can Reset in One Evening
Create a weekly rhythm for sorting, small loads, portable washing or laundromat trips, complete drying, folding, and a five-minute reset.
The short answer
- Start a load only when its wash, drying, folding, and reset windows all fit the available time and space.
- Use a visible load limit at the hamper so the drying zone is never asked to hold more than it can finish.
- End every laundry session with a dry rack, drained accessories, clear floor, and a packed next-step kit.
In a small apartment, an unfinished load doesn’t stay politely in a laundry room. It lands on a chair, blocks a doorway, or waits on the rack long after you need the floor back.
A workable routine has a visible finish line: the load is washed, dried completely, put away, and the equipment returns to storage. Build that finish line around the apartment’s real bottleneck—often drying space, not washer capacity. The no-drill storage guide can give each tool a home, while the apartment no-dryer routine keeps the load itself small enough to finish.
Set a physical load limit
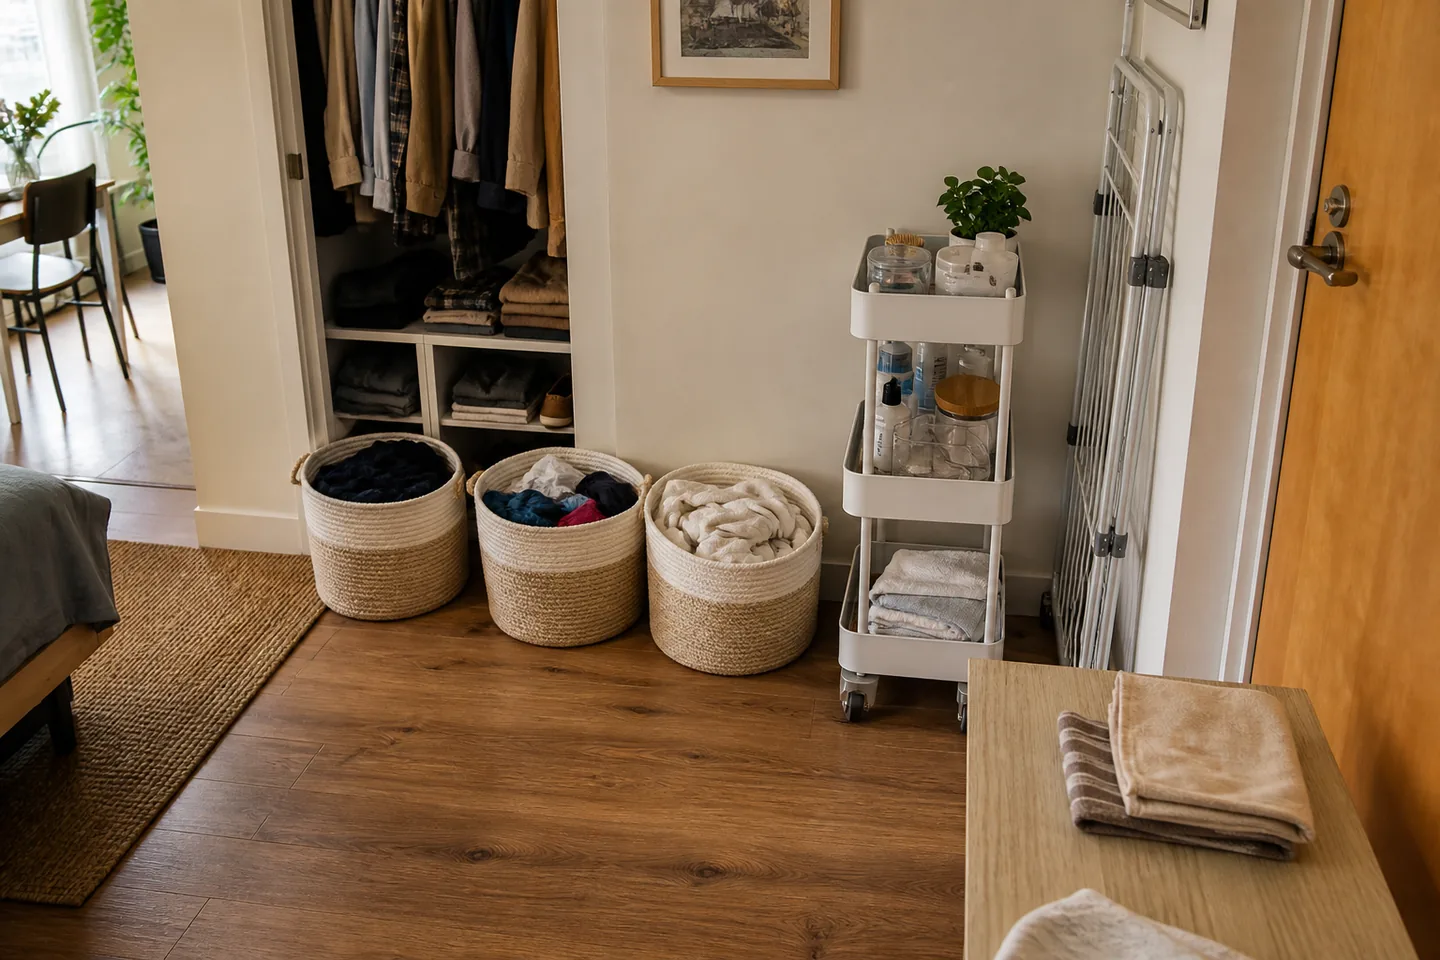
Choose a hamper section, washable bag, or fill line that represents one complete drying load. Test it with ordinary clothing and adjust until everything fits on the rack without overlap.
When the line is reached, schedule the load. Do not keep compressing the hamper. The visible limit connects sorting capacity to drying capacity.
Keep special-care, stain-treated, and laundromat-only items separate. Read care labels so a dry-flat sweater does not unexpectedly consume the entire rack.
Reserve the full time window
Before starting, check four windows:
- wash: setup, cycle, monitoring, and disconnection;
- dry: expected time plus a mid-load check;
- fold: a clean surface and 10–20 focused minutes;
- reset: equipment draining, drying, and storage.
If the final steps collide with sleep, work, guests, or the next room use, choose a smaller load or a different day. Starting a load is a commitment to finish it.
Stage before water starts
Bring the entire system into place:
- Read labels and check pockets.
- Treat stains according to product and garment directions.
- Set up the rack and flat-dry area.
- Check the room humidity and moisture-removal plan.
- If using a portable washer, inspect the faucet, drain, hose security, and outlet.
- Put the clean-return basket or folding surface in place.
This prevents a wet load from waiting while the rack is found behind a closet.
Use smaller rhythm loads
One or two midweek clothing loads can be easier than a weekend pile. Smaller loads move through a portable washer with less handling, balance more easily, and fit the drying zone.
Keep towels or heavy cottons separate when their drying time dominates the load. The Department of Energy also recommends separating towels and heavier cottons from lightweight clothing in dryer routines; the same sorting logic helps an air-drying plan because finish times differ.
Use the highest spin appropriate to the fabric and machine, then hang immediately. Open pockets, cuffs, and hoods.
Make the mid-load check automatic
Set one timer. When it rings:
- remove fully dry lightweight pieces;
- rotate towels and thick seams;
- separate items that shifted together;
- check humidity and condensation;
- move flat-dry items only if their care allows it.
Fold the finished pieces now if a second folding pile would linger. This creates space and makes the final reset smaller.
Close the loop
At the end, check slow seams before folding. Put clothing away rather than transferring the pile to a chair. Drain and dry portable-washer hoses as directed. Let the rack and accessories dry before closing them into storage.
Wipe any condensation or residual water and restore the walking path. Refill the laundromat go-bag or mark supplies that need replacement.
Use a closing checklist:
- no damp fabric in storage;
- no wet hose in a closed bin;
- no product left open;
- no rack blocking the room;
- next load below the fill line.
Review after three weeks
If laundry still overflows, identify the failing boundary. Is the hamper limit too large? Are towels occupying the rack? Is folding delayed? Does the portable setup take too long to reset?
Change one boundary. A routine becomes sustainable through small measured corrections, not by buying another organizer for unfinished laundry.
Sources and verification
We use primary sources where safety, labeling, energy, or moisture guidance is involved. Product-specific instructions always defer to the current manual.
- U.S. Department of Energy — Laundry
- U.S. FTC — Clothes Captioning: Care Labeling Rule
- U.S. EPA — A Brief Guide to Mold, Moisture and Your Home
See something that needs an update? Read our corrections process.